Working with Notes

Format notes
Use this feature to record dealings and communications with contacts or clients, or to store information that will be useful for others in the practice to have easy access to.
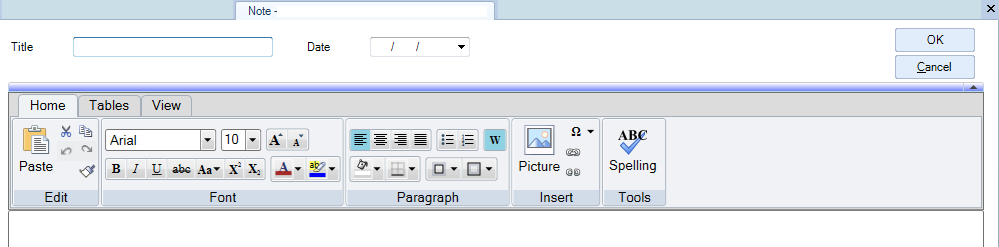
The notes feature also contains a formatting toolbar that allows you to customise the look of the note.
Tip
Use the Copy to Clipboard right-click menu option to copy the content of an open note onto the MS Windows clipboard. Once copied to the clipboard, you can paste the content – including the note title, date and text – in RTF format into other applications such as MS Excel or Word.
Add a note
-
On the main toolbar click either Contacts
 , Clients
  , or Employees
  . The relevant Find page appears.
 -
In the Search for field, type in the name (or part of the name) of the record you want to search for and then click Search or press [Enter].
-
On the results list double–click the record you want to open. The Contact, Client, or Employee page for the selected record is displayed.
-
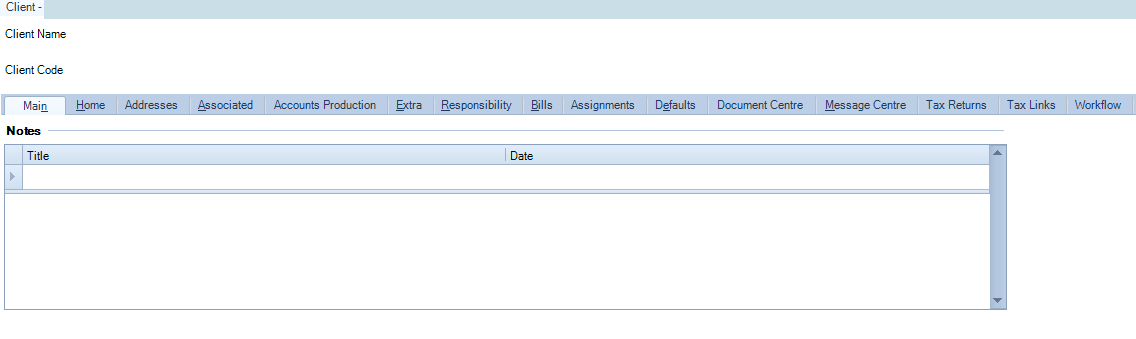
Click the Main tab, the Notes area is at the bottom of the page.
-
Under Notes, enter the Title for the note. The title displays in the Notes list on the Main tab; it needs to have a title which will help other users identify the content.
-
Use the [Tab] key to go to the contents of the note, or if the note is already on the list double click on the title line to bring the contents of the note.
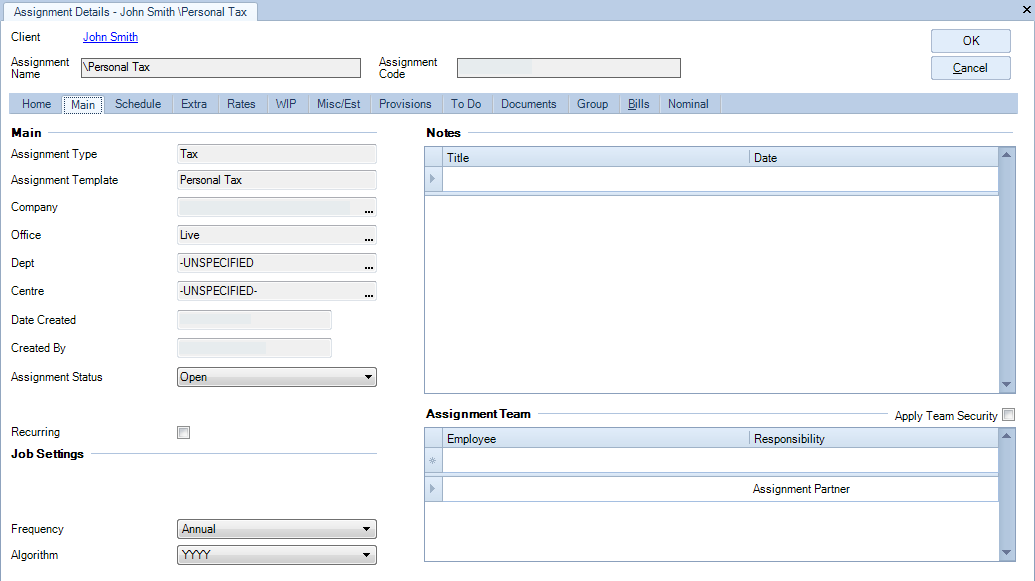
7. You can find Notes in other areas of CCH, for example Assignments, the process to add a note is the same as above.
Edit a note
-
On the Main tab, double click on the title line.
-
On the Notes page make your changes by adding to or typing over the existing note text, note title or date
-
Format the text if required. The formatting toolbar options work in the same way as in other Microsoft Windows products.
-
From the Task bar, it is possible to copy to clipboard and print.
-
Click OK or Close to save the note and return to the Main tab where the edited note is listed.
Correct spellings
The Rich Text Spell Checker allows you to spell check text entries as they are entered. The spell checker is enabled by default and highlights spelling errors with a red underline.
-
Right-click the word underlined in red. A pop-up appears listing suggested corrections.
-
Click the correct spelling on the pop-up to correct the spelling.
Note
If spelling errors are not highlighted, consult your System Administrator as the Rich Text Spell Checker configuration key may have been disabled. If a suggested spelling is not listed, it means that there are no recognised alternatives in the spell checker dictionary. The word remains underlined in red.
If the spelling is correct you can:
-
add this word to the dictionary by right clicking and clicking Add
OR
-
ignore the word (removing the underline) by selecting Ignore from the pop-up options.
Delete a note
- Click the title line of the note in the Main tab and then click [Delete].